


CF13 CF14 Electronic LED Flasher Relay with Adjustable Potentiometer – Fixes Hyper Flash, Fits Cars and Bikes
| 🏷️ Brand | TecUpdater |
| 🔌 Relay Type | CF13 – 3 pin electronic |
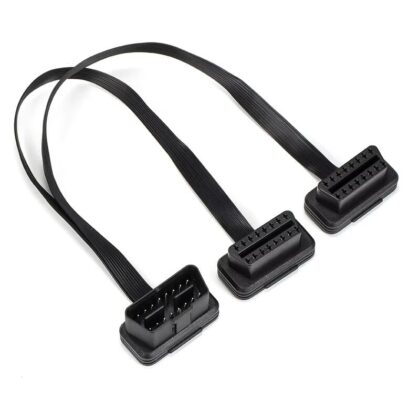
| 🔧 Adapter Included | CF13 to CF14 adapter |
| 🎛️ Flash Rate Adjustment | Potentiometer knob – continuously adjustable |
| ⚡ Voltage | 12V DC only |
| 💪 Rated Load | 100W |
| 🚗 Compatible Vehicles | 12V cars and bikes with CF13 or CF14 flasher relay socket |
| 🔄 Hyper Flash Fix | Yes – electronic control independent of bulb load |
| ✂️ Wire Cutting Required | No |
| 📦 Kit Contents | CF13 flasher relay with potentiometer, CF13 to CF14 adapter |
| 🔄 Return Policy | Exchange Only |
| 🇮🇳 HSN Code | 8536 |
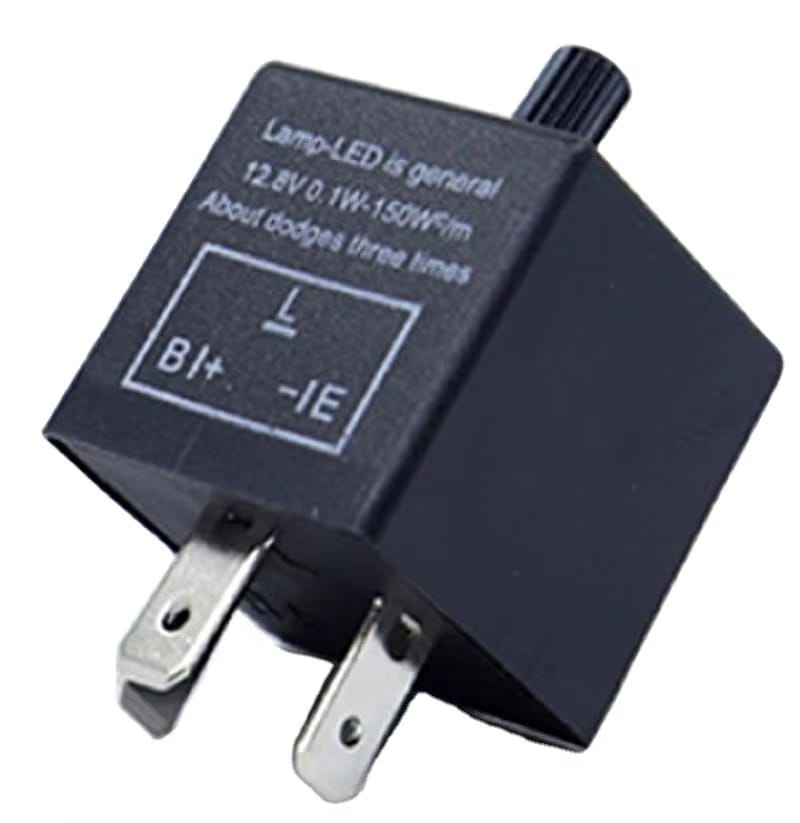
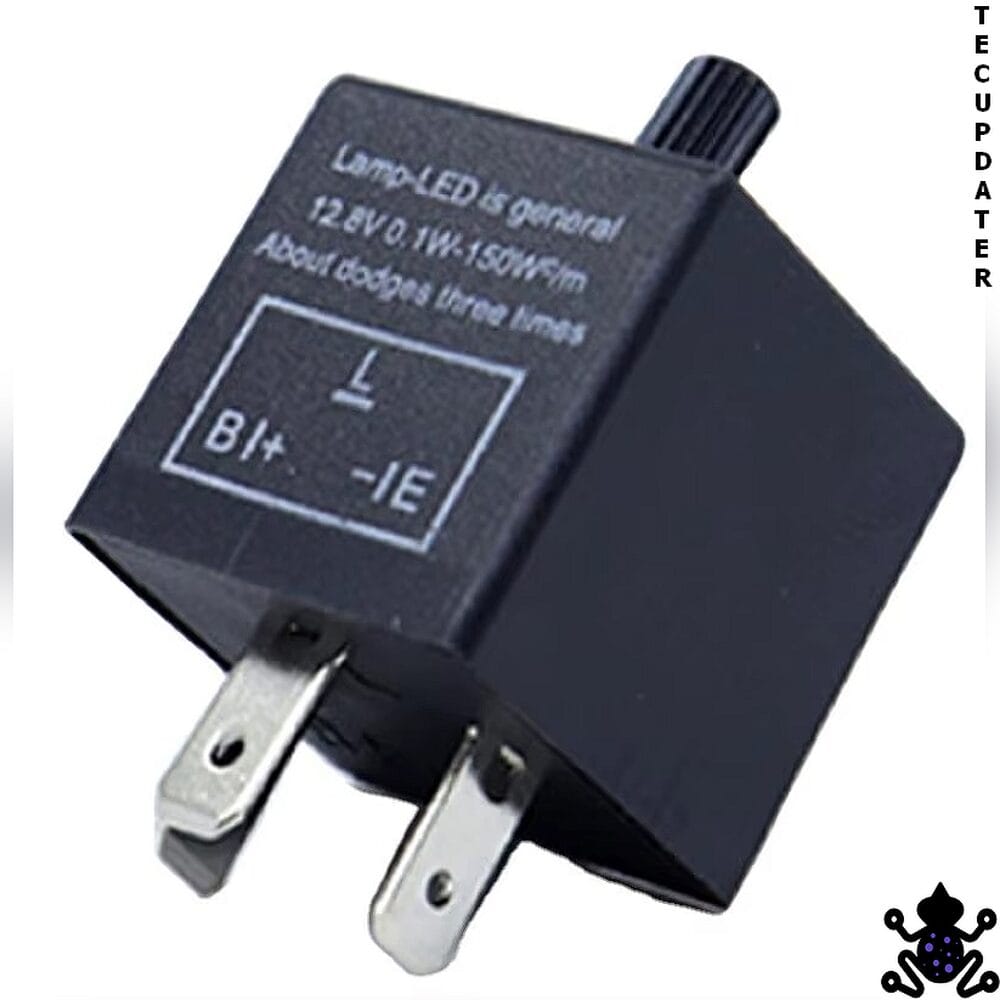
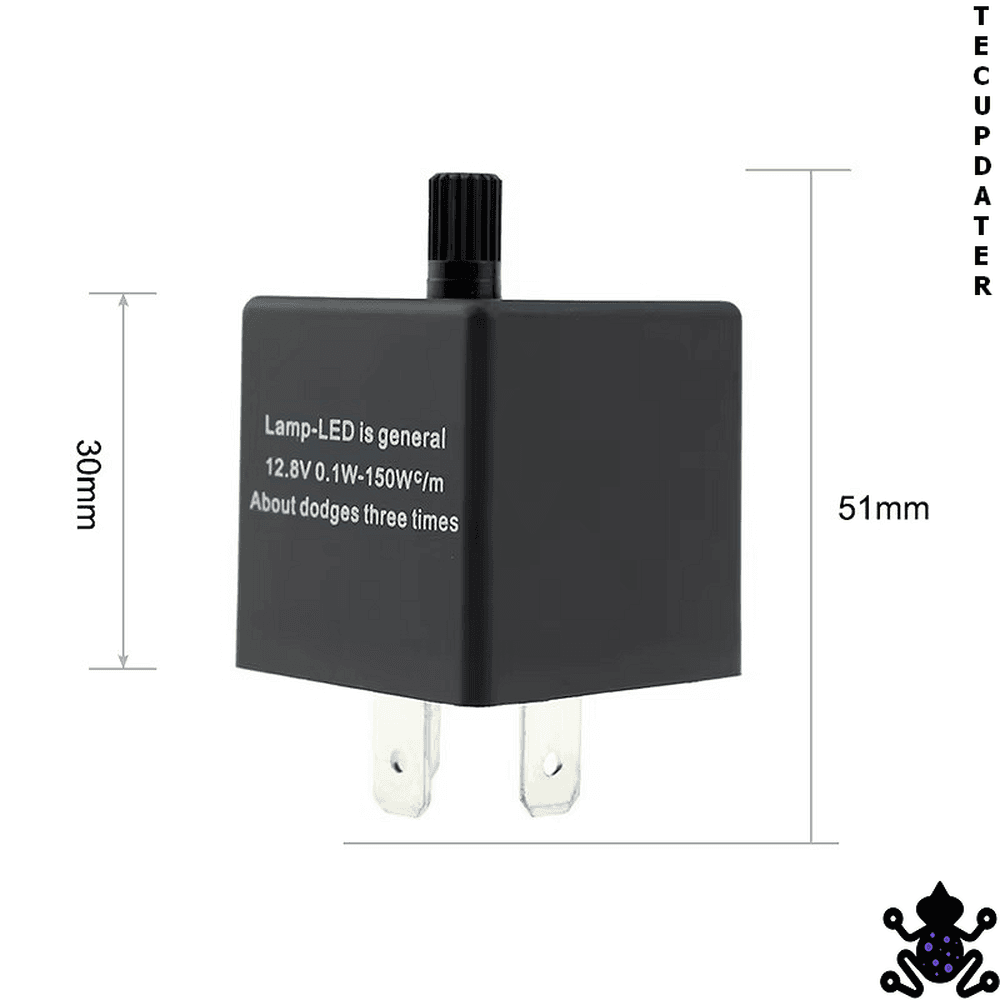
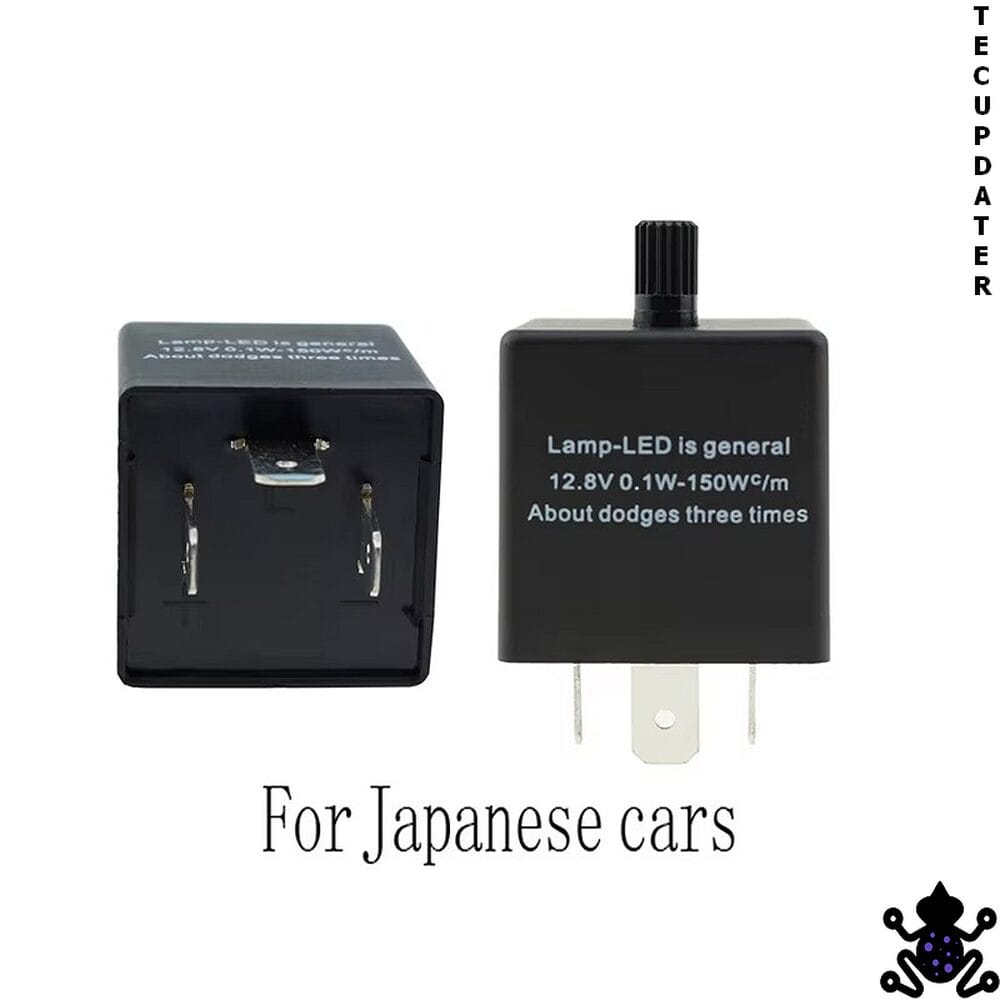
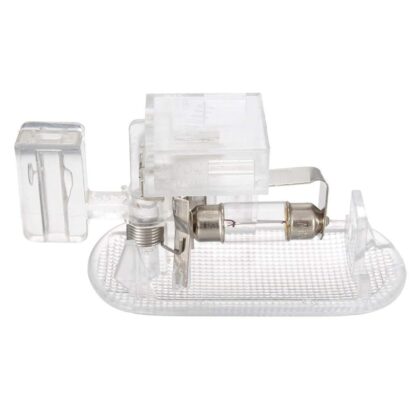
This is a 3-pin CF13 electronic flasher relay with a built-in potentiometer — a small adjustment knob on the unit — that controls the flash rate of the indicator circuit. It is designed as a direct plug-in replacement for the factory thermal flasher relay in cars and bikes that develop hyper flash after an LED indicator bulb upgrade. A CF13 to CF14 adapter is included in the package, making the unit compatible with vehicles that use either the CF13 or CF14 flasher socket. Rated at 100W and 12V.
What Problem It Solves
Factory thermal flasher relays work by detecting the current drawn by the indicator bulbs. Halogen bulbs draw enough current to heat the thermal strip inside the relay at the correct rate, producing the standard flash speed. LED indicator bulbs draw significantly less current — sometimes as little as one tenth of a halogen — and the thermal relay interprets this low draw as a failed bulb, causing it to flash at two to three times the normal rate. This is hyper flash.
The standard fix is either adding resistors to each indicator bulb — which adds heat and negates some of the LED efficiency benefit — or replacing the flasher relay with an electronic unit that does not rely on current draw to control flash rate. This relay takes the second approach. The flash rate is set by the potentiometer, independent of bulb load, so it produces a normal flash rate regardless of whether the indicators are LED or halogen.
Installation Logic
Locate the existing flasher relay in the vehicle. In most cars it is in the fuse box or behind the dashboard. In bikes it is typically under the seat or near the headlight cluster. Remove the factory relay. If your vehicle has a CF13 socket, plug this unit directly in. If your vehicle has a CF14 socket, use the included adapter first, then plug the relay in via the adapter. No wire cutting, no soldering, no additional hardware required for most vehicles.
Once installed, turn on the ignition and activate an indicator. If the flash rate is too fast or too slow, use the potentiometer knob on the relay body to adjust until the flash rate matches normal indicator speed. The adjustment is continuous and can be set precisely.
Behaviour Explanation
The relay controls flash rate electronically rather than thermally, so the rate is consistent regardless of the number of LEDs in the circuit or their individual wattage. The potentiometer gives direct control over flash speed — turn in one direction to slow the flash, the other to speed it up. Set it once to match normal indicator speed and it remains at that setting. The relay is rated at 100W which covers standard dual-indicator circuits with LED bulbs well within the rated load.
Key Compatibility
Compatible with 12V cars and bikes using a CF13 or CF14 flasher relay socket. The CF13 to CF14 adapter is included in the package.
CF13 socket — direct plug-in, no adapter needed CF14 socket — use the included adapter, then plug in
Suitable for any Indian market car or bike that has upgraded to LED indicators and is experiencing hyper flash as a result. Not suitable for vehicles where the indicator flash rate is controlled by the BCM or body control module rather than a standalone flasher relay — on such vehicles the flash rate is software-controlled and a relay replacement will not fix hyper flash.
Who Should Buy
Car and bike owners who have installed LED indicator bulbs and are experiencing hyper flash. Also suitable as a preventive replacement before installing LED indicators if you want to avoid hyper flash from the outset. Compatible with CF13 and CF14 relay sockets via the included adapter.
Who Should Not Buy
Vehicles where the indicator circuit is BCM-controlled — common on most modern MQB-platform and recent Hyundai/Kia vehicles — will not benefit from a flasher relay replacement as there is no standalone relay in the circuit. If your car does not have a physical replaceable flasher relay, this product is not applicable. Also not suitable for 24V vehicles.
FAQs
Q: Will this fix hyper flash on my car after installing LED indicators? A: Yes, on vehicles that use a standalone CF13 or CF14 flasher relay. On vehicles where flash rate is BCM-controlled, a relay replacement will not fix hyper flash — contact us if you are unsure which applies to your car.
Q: My vehicle has a CF14 socket — will this still work? A: Yes. A CF13 to CF14 adapter is included in the package. Connect the adapter to the relay and plug into your CF14 socket.
Q: How do I adjust the flash rate? A: Once installed, turn the potentiometer knob on the relay body while the indicator is active. Turn until the flash rate matches normal indicator speed. No tools required for adjustment.
Q: Is this suitable for bikes as well as cars? A: Yes. Compatible with 12V bikes and cars using CF13 or CF14 flasher relay sockets.
Q: What is the maximum load this relay supports? A: 100W at 12V, which comfortably covers standard LED indicator setups on cars and bikes.


Reviews
There are no reviews yet.